Hi everyone! Today I'm telling you about a rather unusual DIY adventure: finishing a Razorback guitar kit I received from The Guitar FabrikMy challenge? Use only water-based products. No toxic solvents, no smells that make you leave the studio. Just acrylics, water-based varnish, and a little ingenuity. I'll share with you all the steps, the challenges, the solutions, and, above all, the final result.
A big thank you to Guitar Fabrik!
A quick aside: The Guitar Fabrik generously sent me this kit, without any compensation. I'd like to take this opportunity to thank them for their initiative, as it allows us to present unique content to you. As usual, my opinion will remain completely honest, whether for the good or the bad. Let's unpack it right away!


Why choose a water-based finish?
Most guitars you see in stores have a solvent-based finish: polyurethane varnish, nitrocellulose, penetrating oils. These work well, but they're not ideal for a home workshop. These products smell strong, give off toxic fumes, and often require a well-ventilated area with exhaust ventilation.
With water-based products, it's much safer. You can work indoors, clean up with water, and avoid harmful fumes. But there are technical features to know :
- the grain of the wood is raised from the first application,
- drying is very quick (so there is a risk of brush marks),
- layers stack rather than merge,
- Light sanding between coats is essential.
Step 1: Preparing the wood
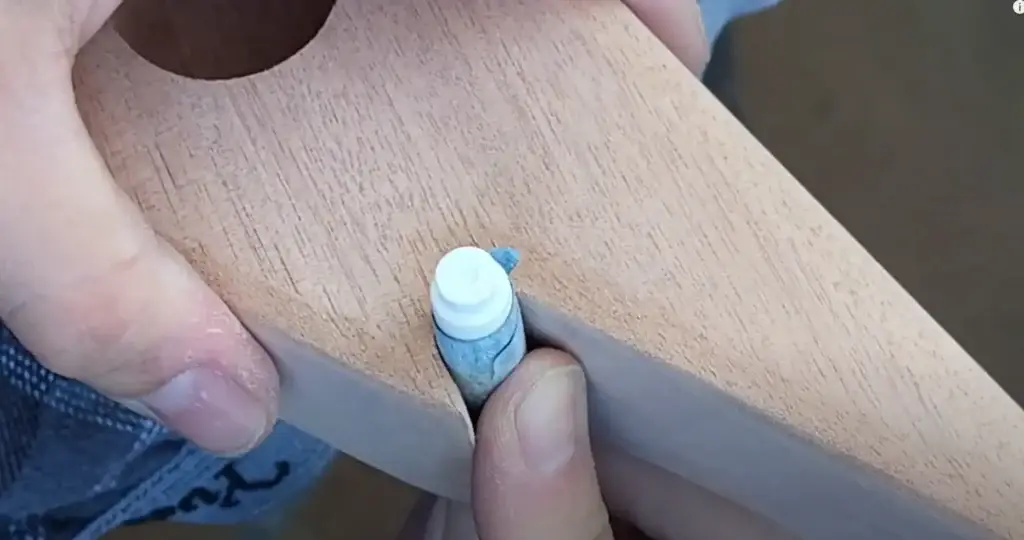
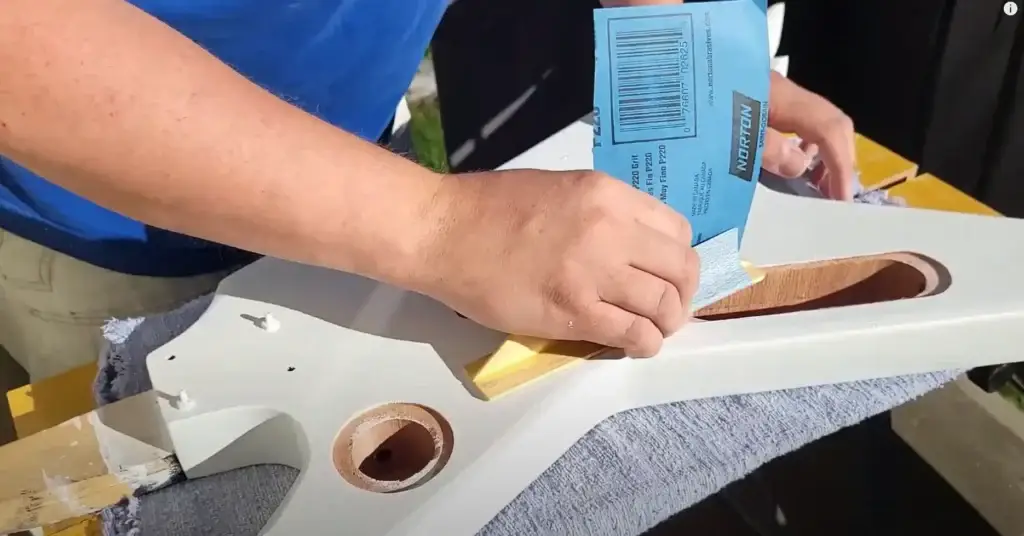
It all starts with sanding. I lightly dampened the body and neck to raise the wood grain in advance. Once dry, I went back over it with 220-grit sandpaper to cut through those stubborn fibers. This is an essential step if you want to prevent the surface from becoming rough from the first coat of primer.
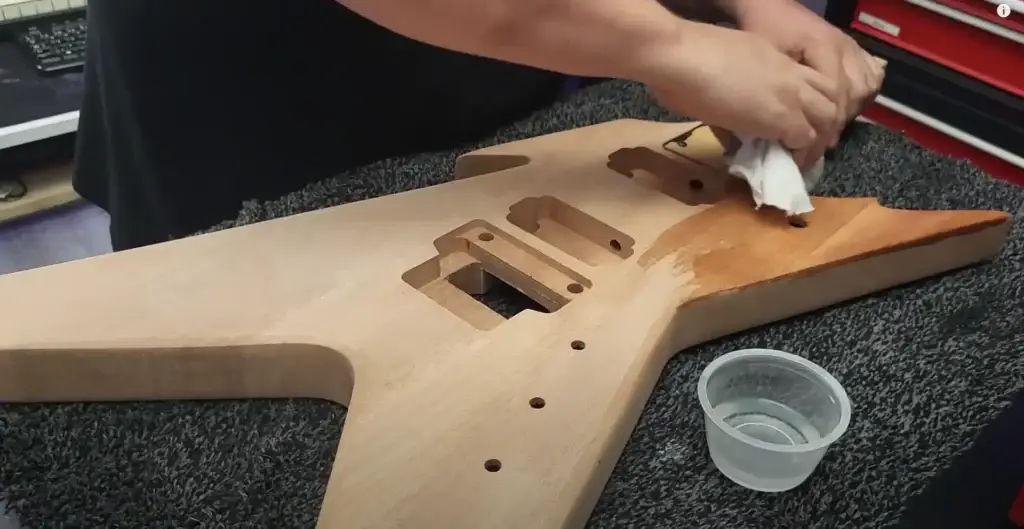
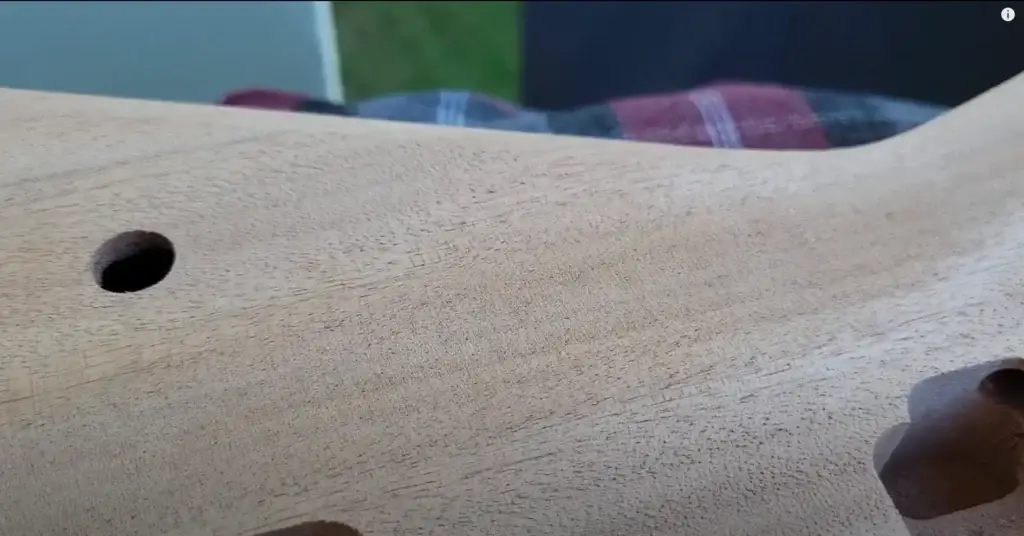
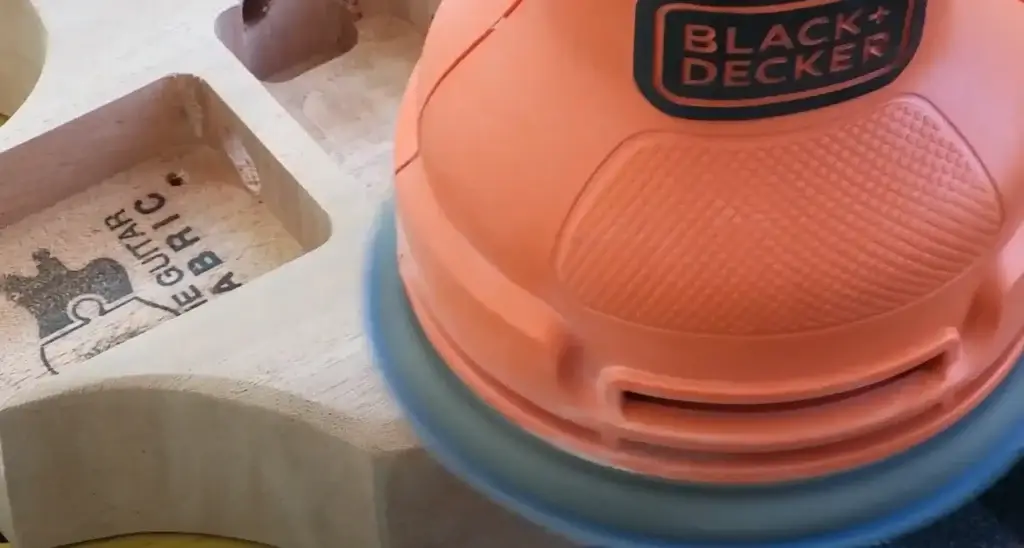
I used an electric sander for large areas, then a very flat sanding block to keep the edges clean and avoid rounding the bevels. For more complex areas, hand sanding is essential. This step takes time, but it makes all the difference in the final result.


Step 2: The base coat (water-based primer)
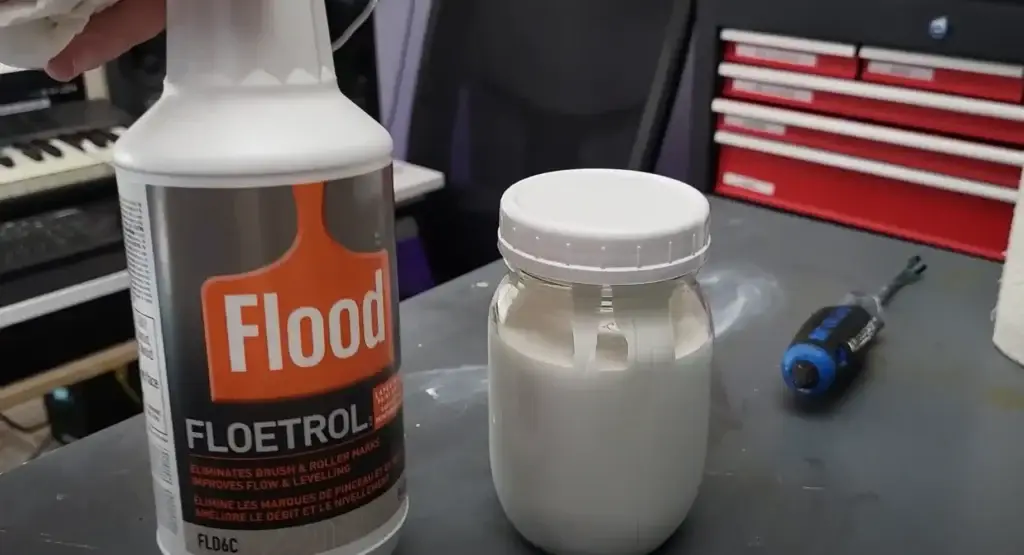
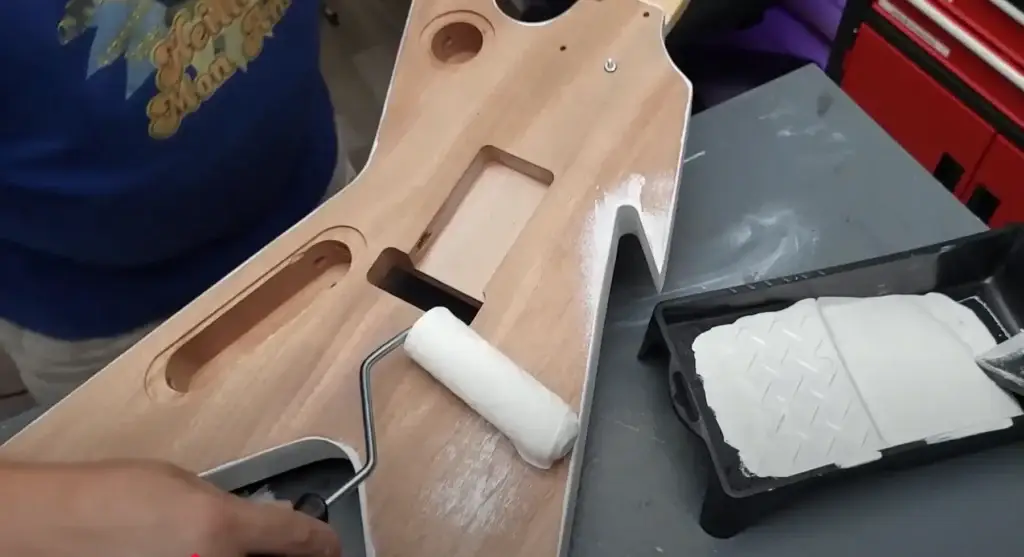
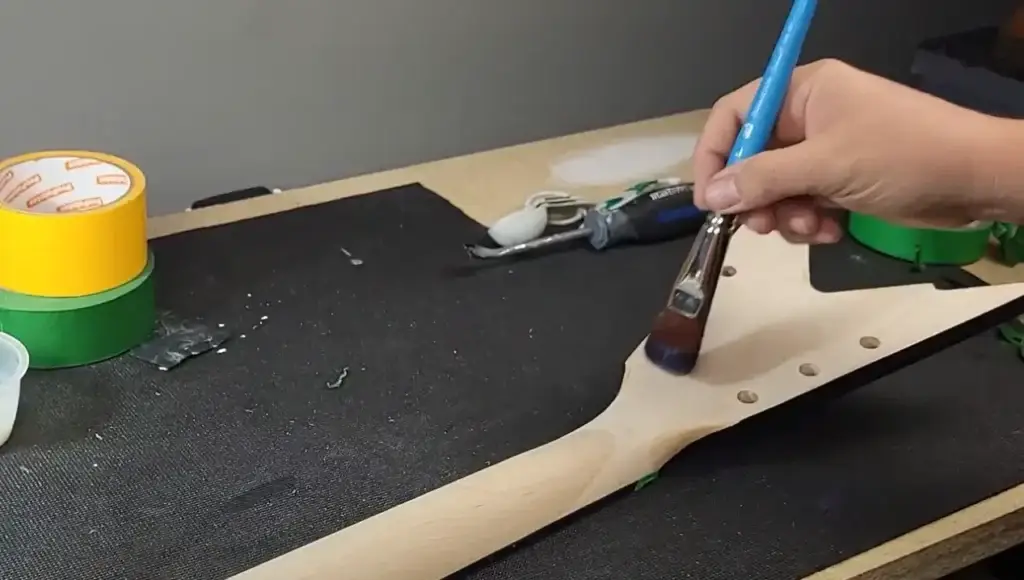
I chose a water-based primer fortified with urethane. To improve its application, I mixed it with a magic additive: FloetrolApproximately one part Floetrol to eight parts primer. This additive delays drying, reduces brush marks, and helps the product self-level.
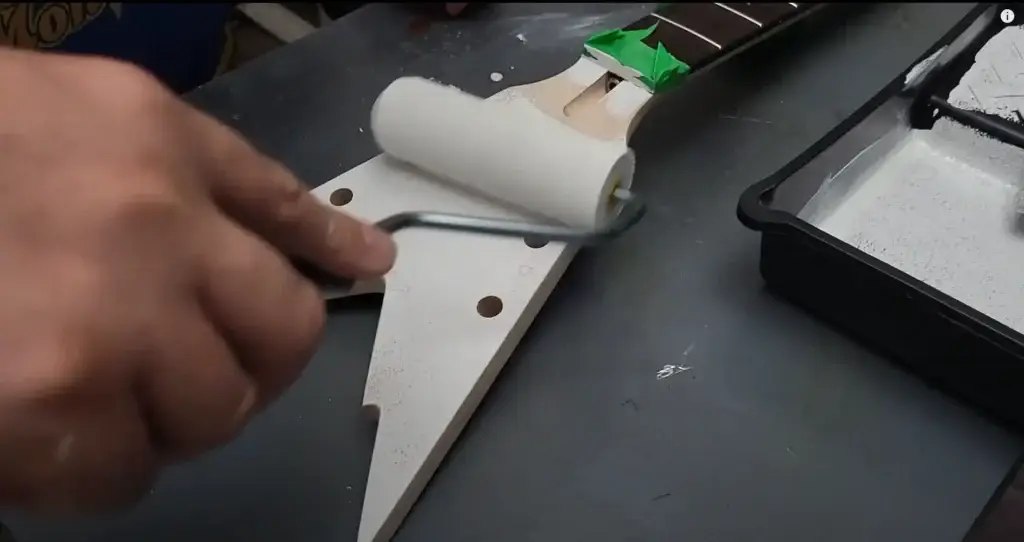
I applied the primer with a foam brush for the contours and a foam roller for the flat surfaces. After drying, I sanded with 220 grit to remove the grainy texture. The idea is to get the smoothest base possible before painting. 2 coats of primer were necessary.


Step 3: Coloring
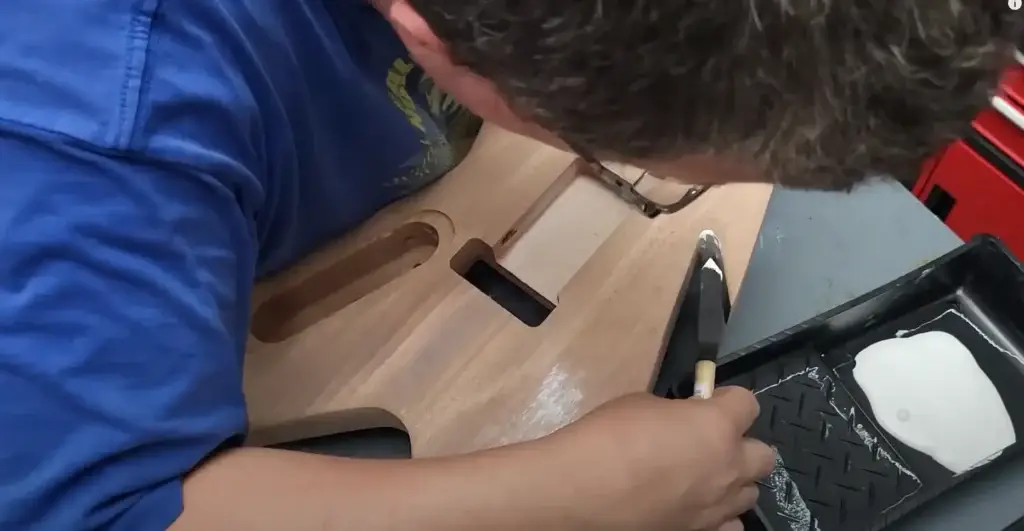
For the color, I used white acrylic wall paint diluted with Floetrol. My first attempt with a roller: disaster. Microbubbles appeared everywhere.
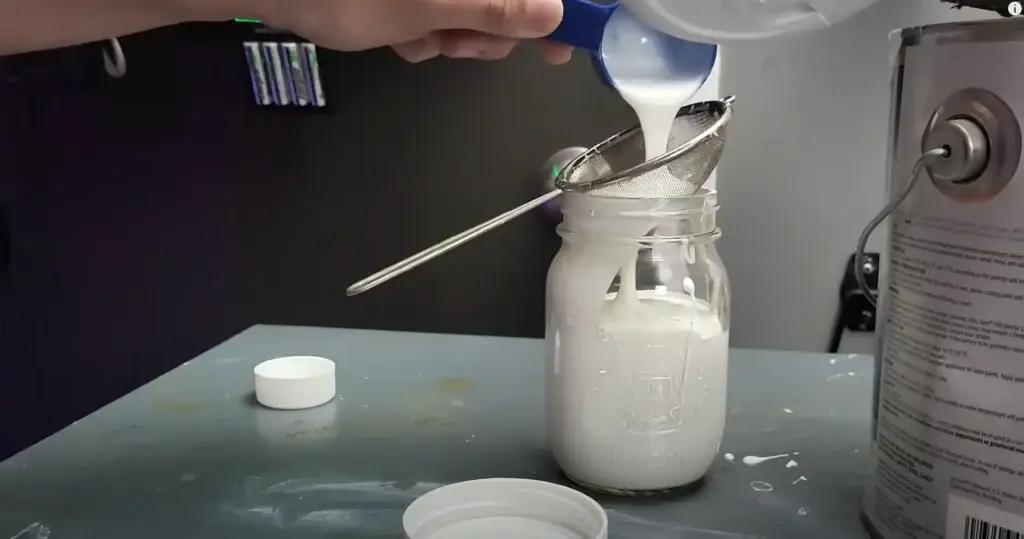

So I changed my technique: high-quality artist's brush. The result is much smoother, with very few visible marks.


Between each coat, I did a light sanding to improve adhesion and remove any small rough spots. This is repetitive work, but essential to achieve a clean finish.
Step 4: Custom Design
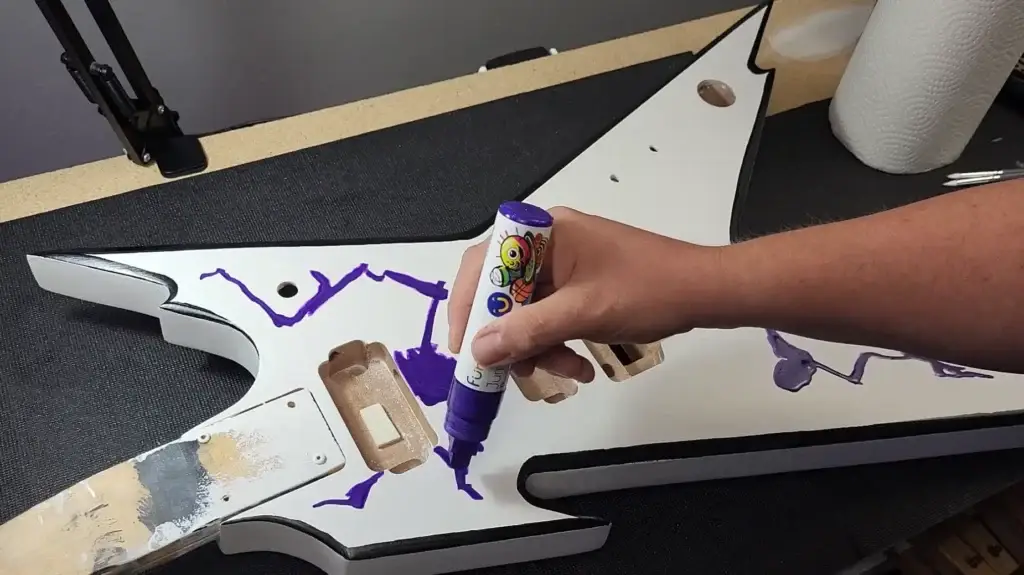
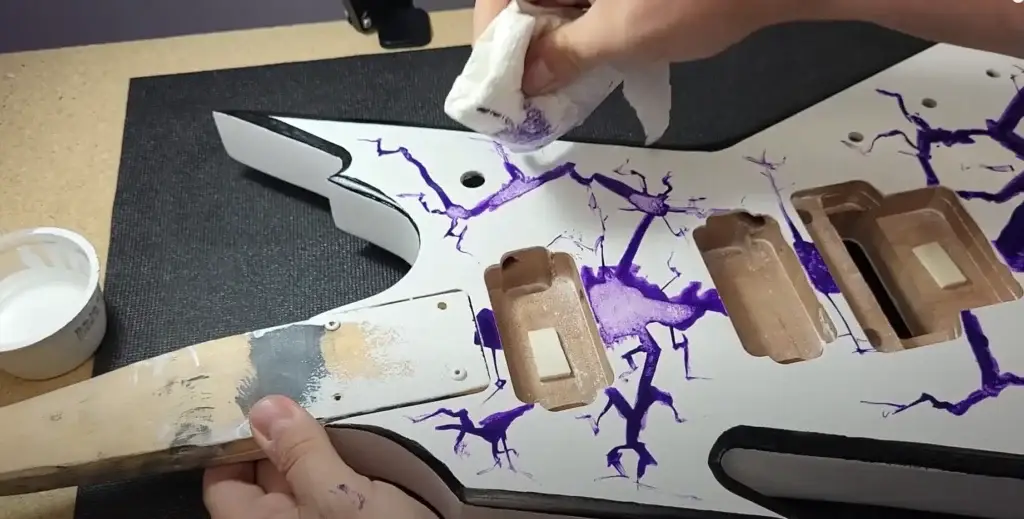
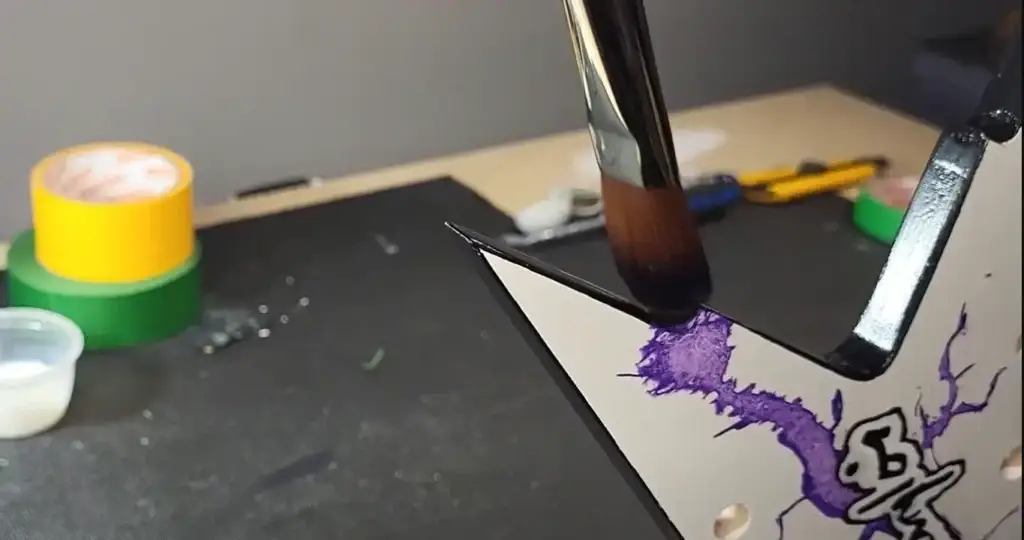
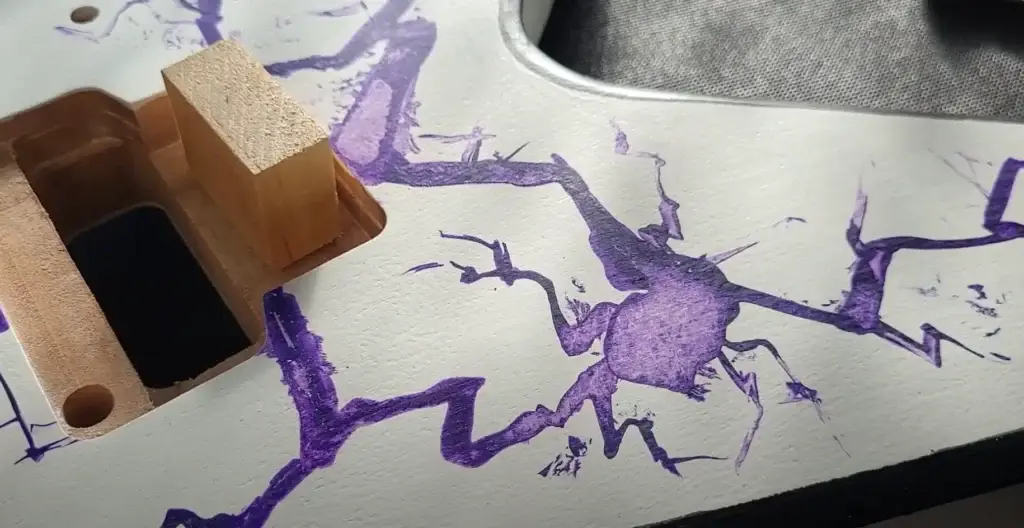
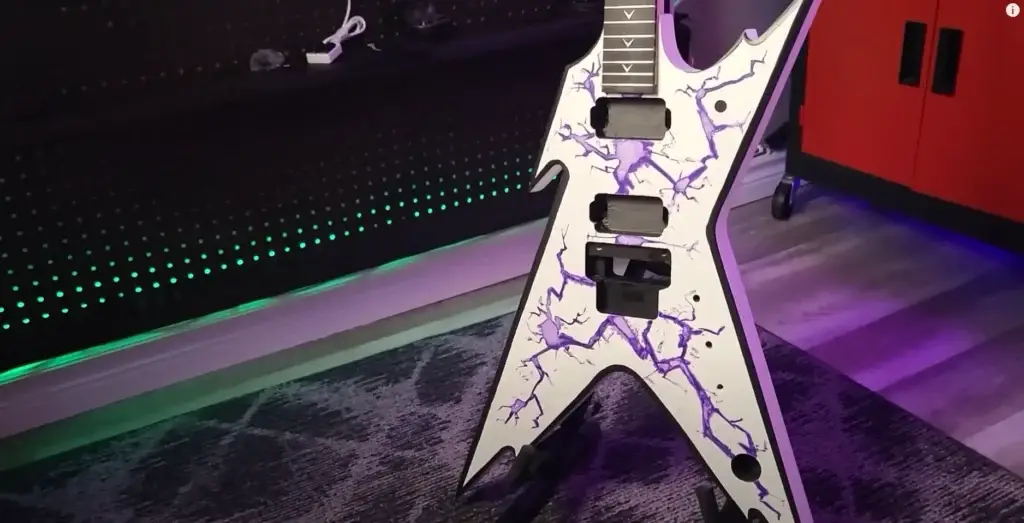
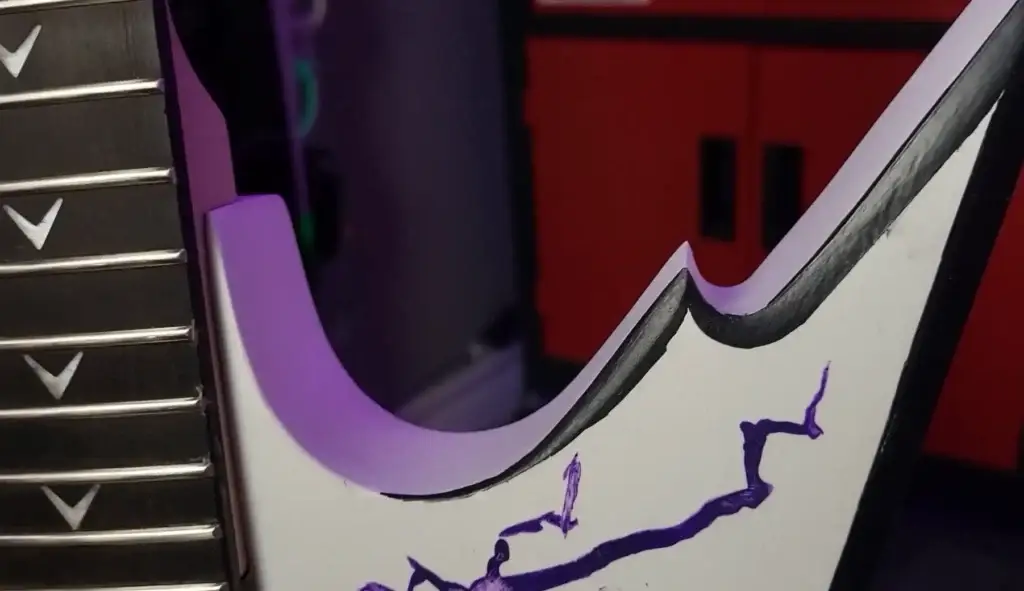
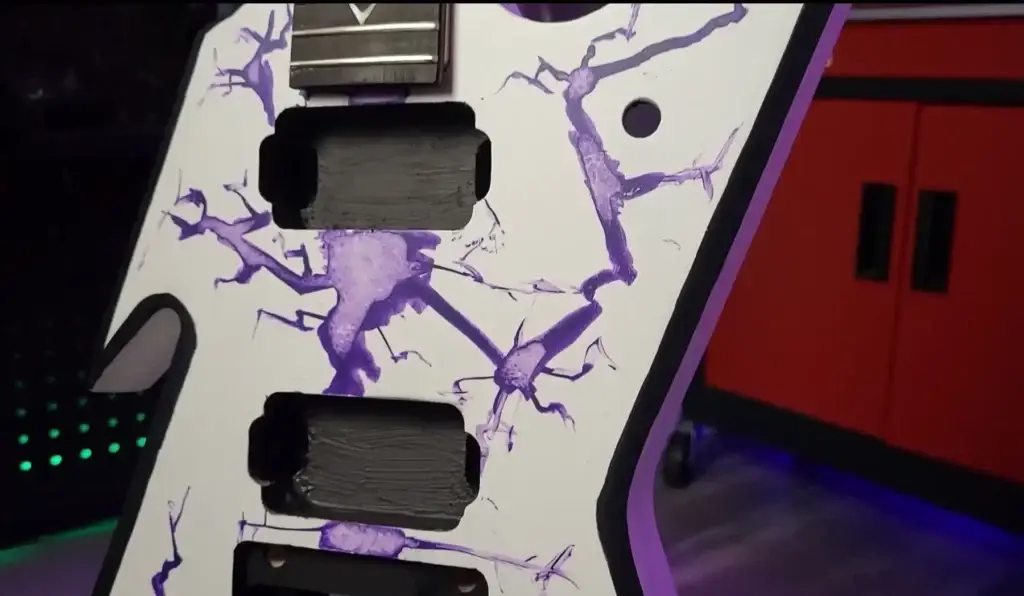
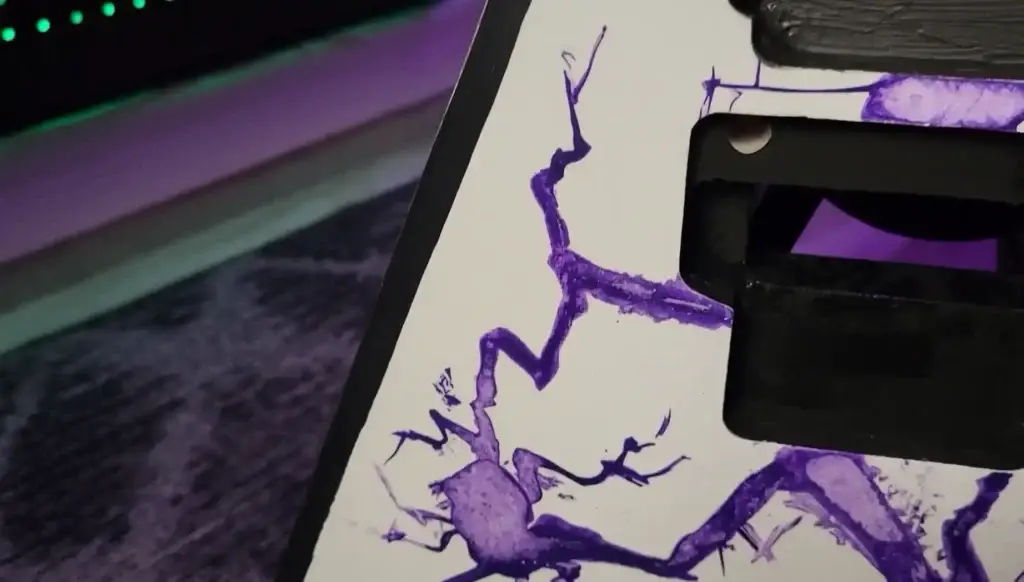
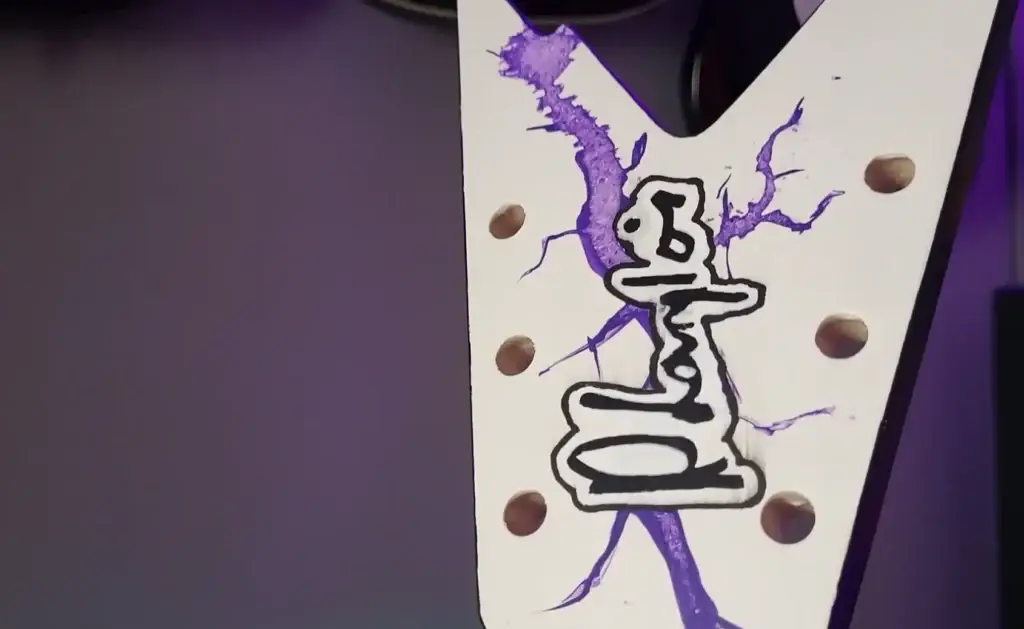
You can't finish a Razorback without a slightly flamboyant design. I was inspired by the aesthetics of Dimebag Darrell and I used acrylic paint markers to trace the black and purple outlines. To get clean lines, I used the masking technique: masking tape + a layer of the background color before adding the contrasting color.


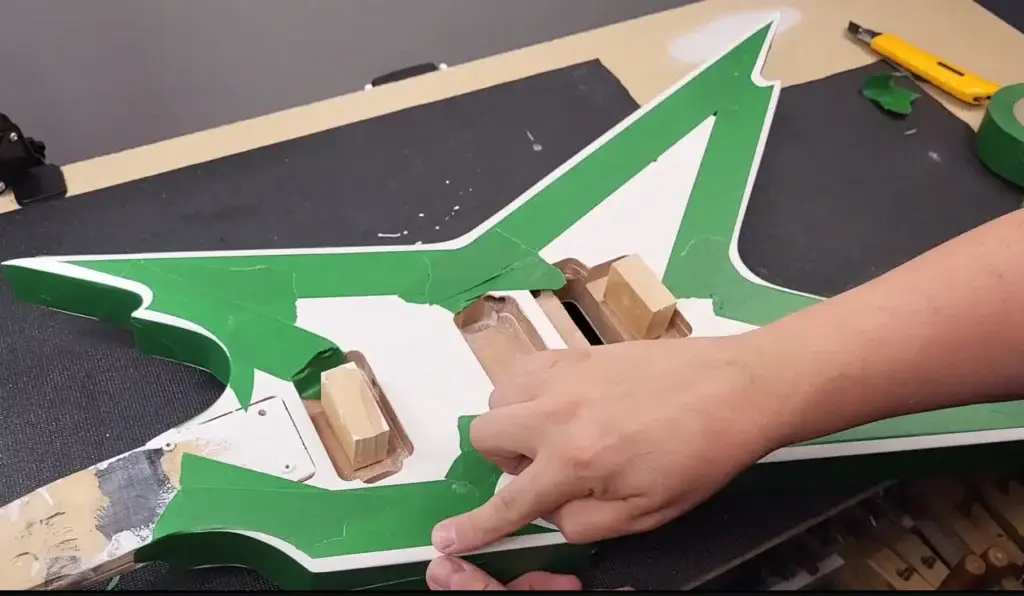

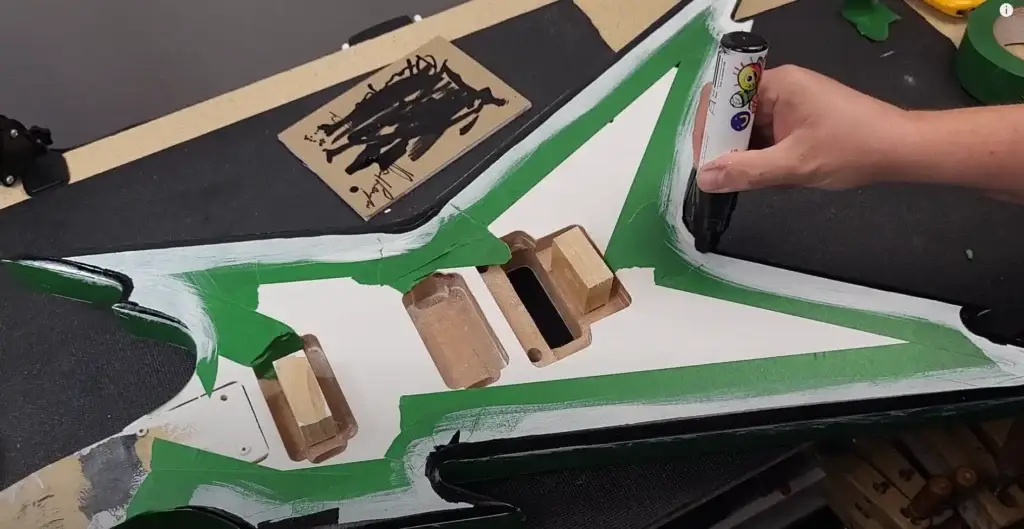

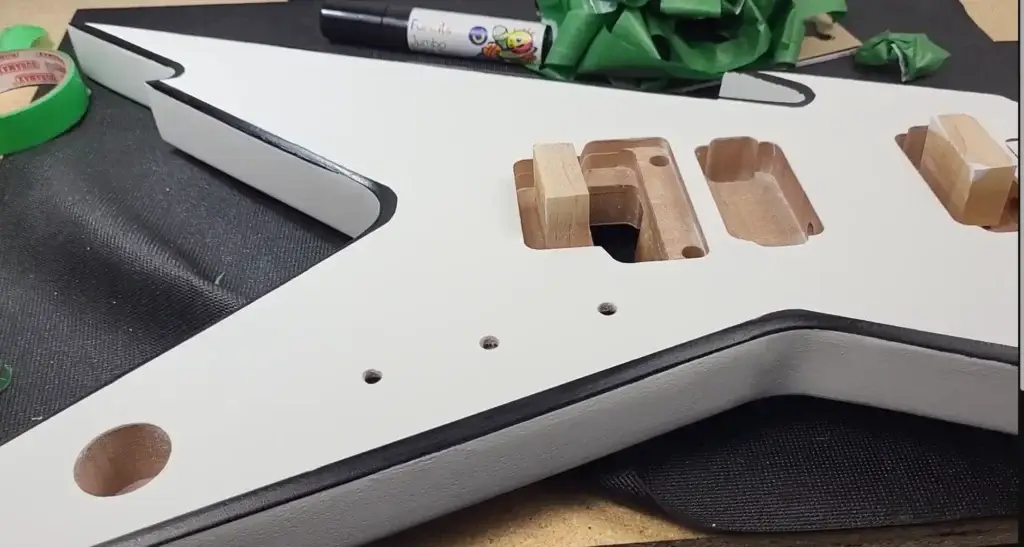
Another interesting trick: acrylic dries from the outside in. This allows you to sponge off some of the paint to create gradients or crackle effects. I played with this property to give the guitar a unique, almost electric look.

Step 5: Applying the varnish
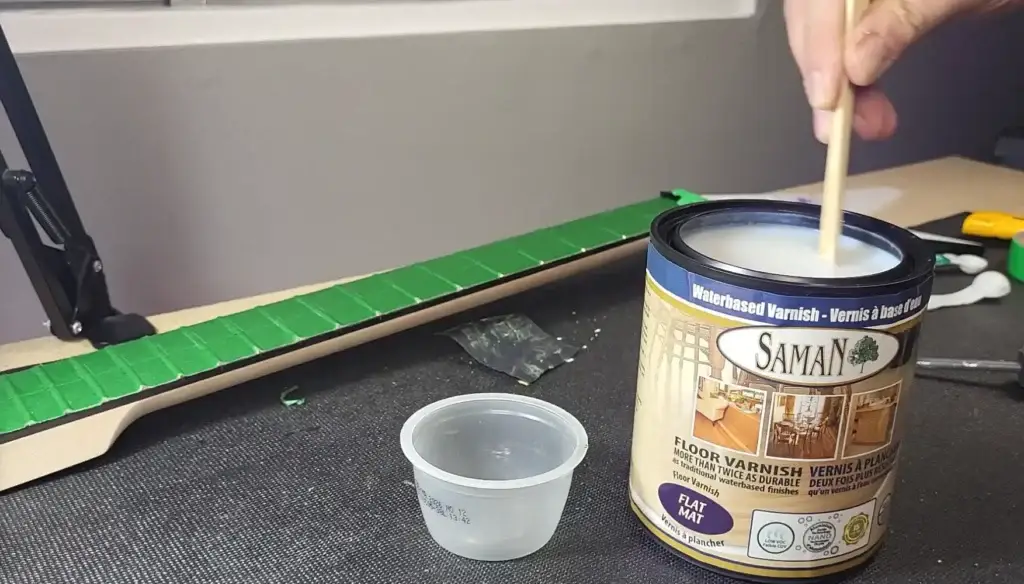
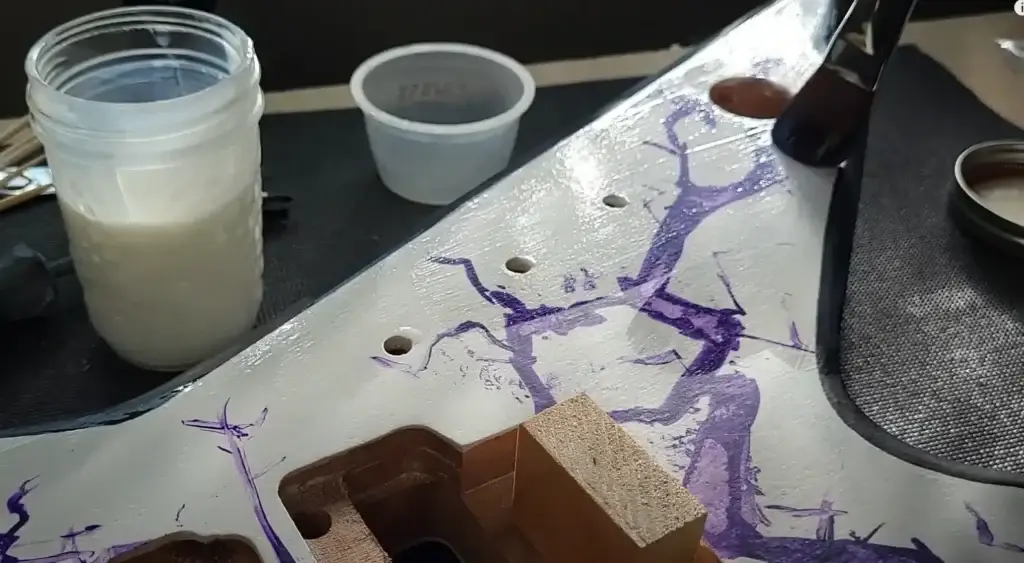
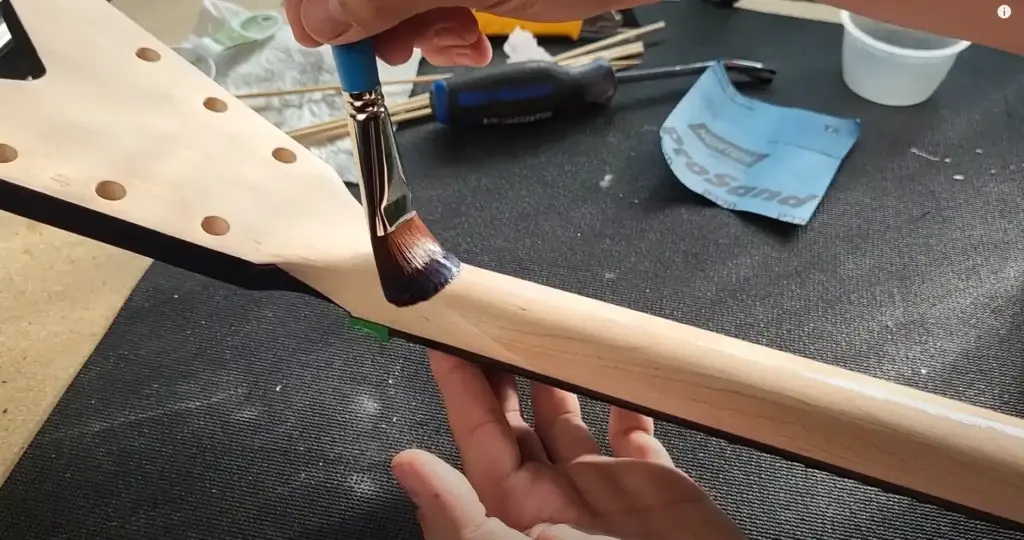
Once the design was finished, it was time to protect everything. I opted for a matte acrylic varnish, always mixed with a little Floetrol. Before applying, I took care to carefully mask the fingerboard and truss rod.
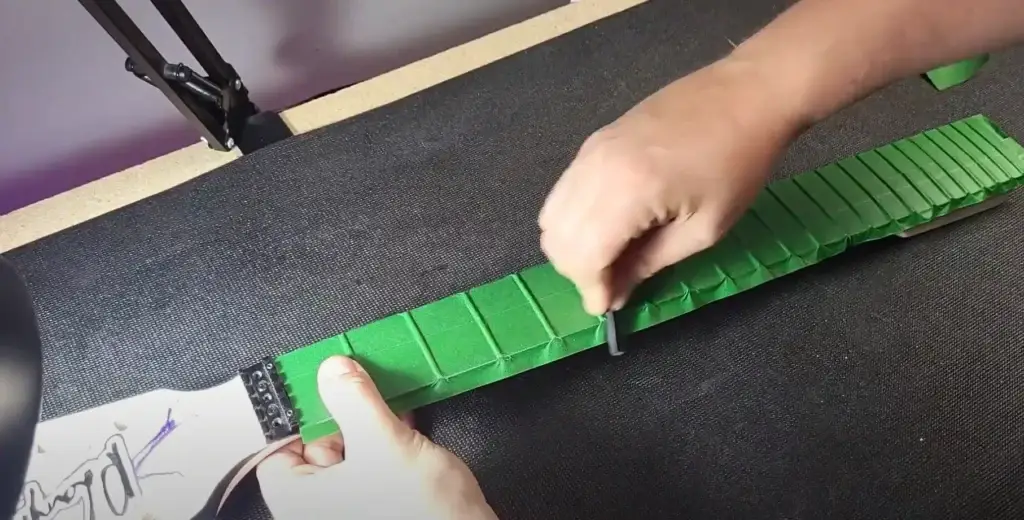
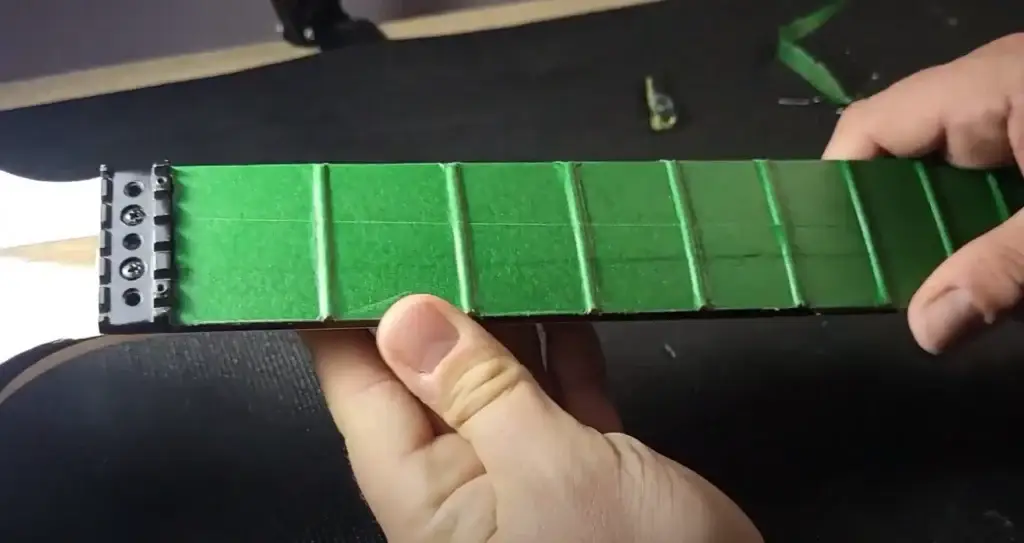
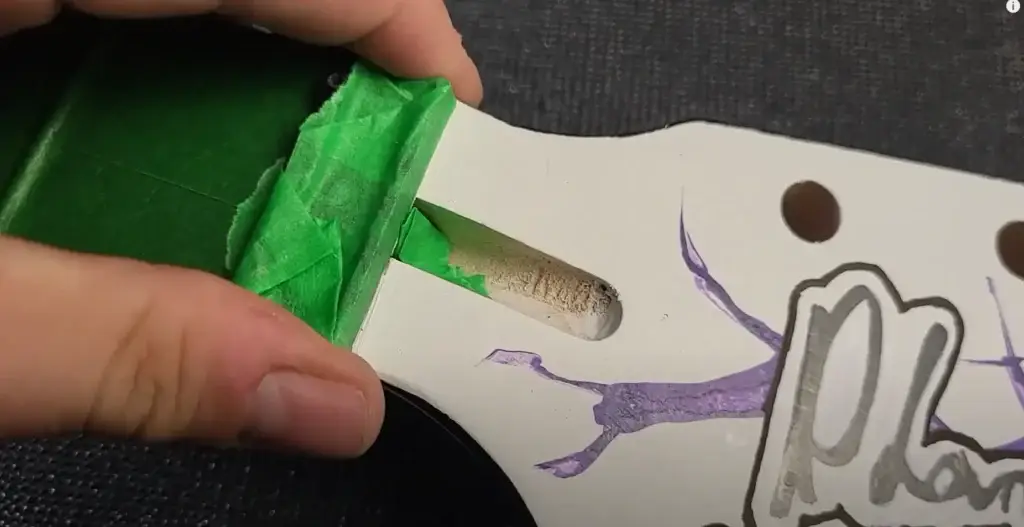
Brush application in thin layers. Contours first, then large areas. Each layer was followed by a light sanding to smooth. Huge advantage: virtually no odor. This is a project I was able to complete without needing a ventilated workshop like a factory.

Final result
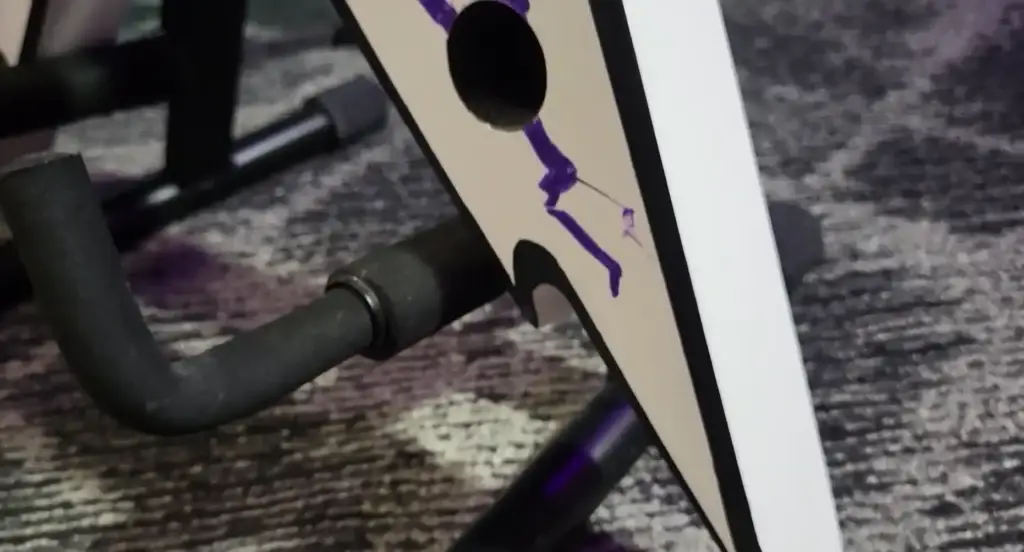
After several coats and many hours of work, the result is stunning. The guitar has a unique look, with a vibrant design and a well-protected surface. Granted, it's not an industrial high-gloss polyurethane finish, but it's more than enough for a homemade instrument... and best of all, I didn't have to breathe in any harmful solvents to achieve it.
Lessons to be learned
If you want to get started with a water-based 100 % finish, here's what I'm taking away:
- Sand between each coat, even slightly.
- Use Floetrol to avoid streaks and extend drying time.
- Prefer a good brush rather than a foam roller for coloring.
- Protect the fingerboard and neck well before applying the varnish.
- Accept a different rendering : less “plasticized”, but more natural.
Conclusion
This project showed me that you can achieve a solid, aesthetic, and original finish on a guitar, even without resorting to traditional solvent-based products. Water-based products have their limitations, but with a little patience and method, the result is truly satisfying. And above all, it's a much healthier option for amateur luthiers working in a home environment.
Have you ever tried a water-based finish on your projects? Share your experiences and tips in the comments. I'm curious to know what techniques you've tried and what results you've achieved. In the meantime, I'm off to my next projects... and I'll see you soon for more guitar adventures!